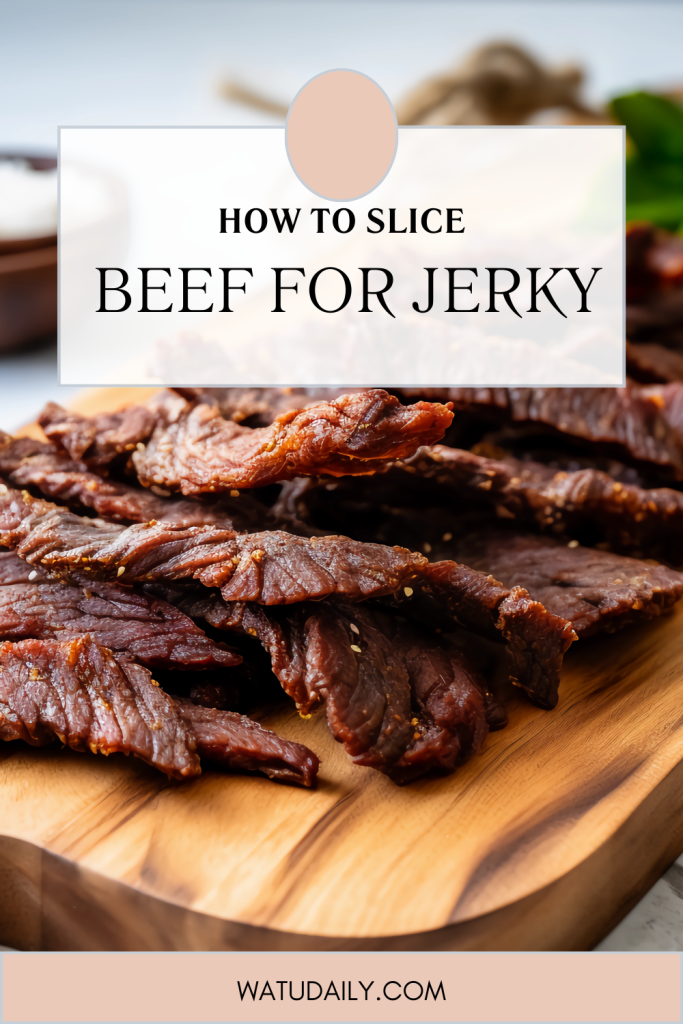
Slicing beef for jerky is an essential step in making delicious homemade jerky. Whether you are a seasoned jerky maker or a beginner, knowing how to slice beef properly can make all the difference in the texture and flavor of your jerky.
When it comes to selecting the right meat for jerky, lean cuts of beef are the best choice. This includes cuts like the top round, bottom round, and eye of the round. These cuts are low in fat and connective tissue, which makes them perfect for jerky. When selecting your meat, look for a cut that is uniform in thickness and free of any visible fat or gristle.
Once you have selected your meat, it’s time to slice it. The key to slicing beef for jerky is to cut it against the grain. This will help break down the muscle fibers and make the jerky easier to chew. It’s also important to slice the meat as thinly as possible, ideally between 1/8″ and 1/4″ thick. This will help the jerky dry evenly and prevent it from becoming too tough or chewy.
Selecting the Right Cut of Beef
When it comes to making beef jerky, the cut of beef you choose is crucial. The best cuts of meat for beef jerky are lean cuts from the round, such as top round, bottom round, eye of round roast, and London broil. These cuts are naturally lean and have minimal visible fat, which makes them perfect for jerky-making.
Other lean cuts of beef that can be used for jerky include flank steak, rump roast, and sirloin. These cuts are also low in fat and can produce high-quality jerky meat. However, it’s important to note that sirloin tip and beef brisket are not ideal choices for jerky as they contain more marbling and fat than other cuts.
When selecting the right cut of beef for your jerky, it’s important to look for lean meat with minimal marbling. This will ensure that your jerky is not only healthy but also flavorful and tender. Additionally, if you’re making jerky from wild game, it’s important to choose lean meat from the short loin or other lean cuts.
The best cuts of meat for beef jerky are lean cuts from the round, such as top round, bottom round, eye of round roast, and London broil. Other lean cuts of beef that can be used for jerky include flank steak, rump roast, and sirloin. Always choose high-quality meat with minimal marbling and visible fat for the best results.
Related Post: Clean Keto Dinner Ideas: Delicious and Simple
Preparation Before Slicing
Before slicing your beef for jerky, there are a few important steps you need to take to ensure the best results.
Trim the Fat
First, trim any visible fat from your cut of meat. Fat can spoil the jerky faster, so it is best to trim as much as you can to prevent your jerky from going bad. You can use a sharp knife or meat slicer to remove excess fat.
Chill Your Meat
Chilling the meat before slicing is an essential step to make it easier to handle. Cover the meat with plastic wrap and place it in the freezer until it’s firm but not frozen. Anything less than almost-frozen or very cold meat can be difficult to slice.
Sharpen Your Knife
Using a sharp knife is crucial for beautiful, thin slices of beef. A dull knife can make it difficult to slice through the meat and can damage the muscle fibers, resulting in tough jerky. Use a sharpening stone or honing rod to sharpen your knife before slicing.
Use a Cutting Board
A cutting board is essential for safe and efficient slicing. Choose a sturdy board that won’t slip or slide around while you’re slicing. A wooden or plastic cutting board is ideal for this purpose.

Keep Your Meat Cold
It’s essential to keep your meat cold while slicing. If the meat gets too warm, it can become difficult to handle and may not slice as well. Keep the meat in the refrigerator or freezer until you’re ready to slice.
By following these simple steps, you’ll be well on your way to perfectly sliced beef for delicious jerky.
Slicing Techniques
Slicing meat for beef jerky is an essential step in the jerky-making process. The key to achieving perfect jerky slices is to cut the meat thin and against the grain. Here are some slicing techniques that you can use to ensure your jerky comes out perfectly every time.
Cut with or against the grain?
When slicing meat for beef jerky, it’s important to cut against the grain. Cutting against the grain means that you are cutting perpendicular to the direction of the muscle fibers. This technique results in tender, easy-to-chew jerky. On the other hand, cutting with the grain will result in tough, chewy jerky.
To determine the direction of the grain, look for the lines that run parallel to each other on the surface of the meat. Once you have identified the grain, cut perpendicular to it to get the best results.
Jerky Slicer
Investing in a jerky slicer is an excellent way to ensure that your jerky slices are uniform in thickness. A jerky slicer is a tool that is designed specifically for slicing meat for beef jerky. It allows you to adjust the thickness of the slices and ensures that each slice is the same size.
Slicing Meat
When slicing meat for beef jerky, it’s important to use a sharp knife. A dull knife will make it difficult to cut thin, uniform slices. Before you begin slicing, make sure to trim any visible fat from the meat. Fat can cause the jerky to spoil faster, so it’s best to remove as much as possible.
To slice the meat, hold it firmly and cut parallel to the cutting board. Make sure to keep your slices thin and uniform in thickness. If you’re having trouble cutting thin slices, try freezing the meat for 30 minutes to make it firmer.
Slicing Against the Grain
When slicing against the grain, it’s important to cut perpendicular to the direction of the muscle fibers. This technique ensures that the jerky is tender and easy to chew. To slice against the grain, hold the meat vertically and slice it parallel to the cutting board.
Parallel Cuts
When slicing meat for beef jerky, it’s important to make parallel cuts to ensure that each slice is the same size. To make parallel cuts, use a ruler or other straight edge to guide your knife. This technique will help you achieve uniform slices that will dry evenly.
Vertically Slicing
When slicing meat for beef jerky, it’s important to slice the meat vertically. This technique ensures that each slice is the same size and shape. To slice the meat vertically, hold it firmly and cut it perpendicular to the cutting board.
Final product
By using these slicing techniques, you can ensure that your beef jerky comes out perfectly every time. Remember to cut against the grain, use a sharp knife, and make parallel cuts to achieve uniform slices. With a little practice, you’ll be slicing meat for beef jerky like a pro!

Marinating and Seasoning
When it comes to making delicious beef jerky, marinating and seasoning the meat is crucial. A good marinade will not only add flavor to the meat but also help tenderize it, making it easier to chew.
To make a basic marinade, you will need soy sauce, Worcestershire sauce, brown sugar, black pepper, red pepper flakes, onion powder, garlic powder, and smoked paprika. In a medium bowl, whisk together all of the ingredients until the sugar is dissolved. Then, add the meat to the marinade and toss until all of the pieces are evenly coated. Cover the bowl with plastic wrap and refrigerate for at least 8 hours or overnight.
If you want to add a smoky flavor to your jerky, you can add liquid smoke or mesquite seasoning to the marinade. For those who prefer a beefy flavor, you can add curing salt or beef bouillon to the marinade. However, be careful not to add too much curing salt, as it can be harmful if consumed in large quantities.
When it comes to seasoning your jerky, you can use a variety of spices depending on your taste preferences. Some popular choices include black pepper, garlic powder, onion powder, and paprika. You can also experiment with different seasonings to create your own unique flavor profile.
Therefore, marinating and seasoning your beef jerky is an important step in creating delicious jerky that will satisfy even the most discerning of jerky lovers.

Dehydrating and Cooking
Once you have sliced your beef into thin strips, it’s time to dehydrate and cook them. There are several methods you can use, including an oven, a dehydrator, or a smoker.
If you’re using an oven, preheat it to a low temperature, around 150–170°F. Place the beef strips on a wire rack or a baking sheet lined with aluminum foil. Make sure the strips are not touching each other to ensure even drying. Cook the beef strips for several hours until they are dry and chewy.
If you’re using a dehydrator, place the beef strips on the dehydrator racks and set the temperature to around 145°F. The drying time will vary depending on the thickness of the slices and the humidity in your area. Check the beef strips periodically until they are dry and chewy.
If you’re using a smoker, follow the manufacturer’s instructions. Smoke the beef strips for several hours until they are dry and chewy.
Regardless of the method you use, make sure to store the beef jerky in an airtight container at room temperature. Homemade beef jerky can last for several weeks when stored properly.
Overall, dehydrating and cooking beef jerky can take a long time, but the end result is worth it. With the right temperature and drying time, you can achieve the perfect texture and flavor for your homemade beef jerky.
Related Post: How to Freeze Cornbread: Everything you need to know
Storing and Shelf Life
Proper storage is crucial to extending the shelf life of your homemade beef jerky. If stored correctly, your jerky can last for several weeks. Here are some tips to help you store your jerky properly:
- Store your jerky in an airtight container or resealable plastic bag to keep moisture out. This will prevent the jerky from getting spoiled or moldy.
- Glass jars can also be used to store jerky. However, make sure that the jar is airtight and has a rubber seal to prevent air from entering.
- Keep your jerky away from direct sunlight and heat. Exposure to heat and sunlight can cause the jerky to spoil faster.
- If you plan to store your jerky longer, consider storing it in the refrigerator. This will help keep the jerky fresh for a longer time. However, make sure to use an airtight container or resealable plastic bag to store the jerky in the fridge.
- Properly-dried jerky can keep for months, but its shelf life shortens considerably if there’s any fat left on it. So, make sure to trim all the fat from your beef before making jerky.
- The shelf life of jerky can vary depending on factors like the type of meat used, moisture levels, pretreatment methods, additives, and storage methods. If you want to store jerky long-term, make sure to follow the proper storage guidelines.
By following these tips, you can ensure that your beef jerky stays fresh and tasty for a longer time. Enjoy your homemade jerky without worrying about spoilage or loss of flavor.

How to Slice Beef for Jerky – A Step-by-Step Guide
Equipment
- sharp knife You'll use a sharp knife to slice the beef into thin, uniform strips. Slicing the beef properly is crucial for even drying.
- Cutting Board A clean cutting board provides a safe and sanitary surface for slicing the meat.
- meat tenderizer (optional) A meat tenderizer or mallet can be used to flatten and tenderize the beef strips, making the jerky more palatable.
- marinating container or plastic bag To marinate the beef, you'll need a container or resealable plastic bag. This is where the beef absorbs the flavors of your chosen marinade.
- Dehydrator A food dehydrator is a specialized appliance designed to remove moisture from foods. It's essential for drying the beef strips evenly and efficiently.
- oven (alternative) If you don't have a dehydrator, you can use an oven set at a low temperature to dry the beef. A wire rack on a baking sheet can help with even drying.
- jerky racks or mash screens In a dehydrator, you'll use jerky racks or mesh screens to lay out the beef strips, allowing proper air circulation for drying. In an oven, you can use wire racks or baking sheets.
- aluminum foil (optional) You can use aluminum foil to line the bottom of the oven to catch any drips during the drying process. It makes cleanup easier.
- hygrometer (optional) This tool can help you monitor the humidity levels during the drying process, which is especially important for achieving the desired jerky texture.
- airtight containers Once your jerky is dried, you'll need airtight containers or resealable bags to store it and keep it fresh.
Ingredients
- Lean beef (such as flank steak or sirloin)
- Marinade and Seasonings
- Curing salt
- Black pepper
- Othe additional ingredients as per your prefered Jerky Recipe.
Instructions
Step 1: Choose the Right Cut of Beef
- Select a lean cut of beef for making jerky. Flank steak, sirloin, or round steak are excellent choices. Trim away any visible fat as it can cause the jerky to spoil faster.
Step 2: Partially Freeze the Meat
- To make slicing easier and more consistent, place the beef in the freezer for about 1-2 hours until it’s partially frozen. The meat should be firm but not rock-solid.
Step 3: Prepare Your Workspace
- Clear and clean a cutting board to prevent cross-contamination. Ensure you have a sharp knife and, if desired, a meat tenderizer or mallet for even thickness.
Step 4: Slice the Meat
- Place the partially frozen beef on the cutting board. Slice the meat across the grain into thin, even strips. The thickness should be around 1/8 to 1/4 inch (3-6 mm). Slicing against the grain will result in a more tender jerky.
Step 5: Optional: Tenderize the Strips
- If you want your jerky to be extra tender, gently pound the strips with a meat tenderizer or mallet. This helps break down the muscle fibers and can improve the jerky’s texture.
Step 6: Uniformity is Key
- Ensure that the strips are as uniform in size as possible. This consistency ensures that all pieces will dry evenly and at the same rate.
Step 7: Arrange the Strips
- Lay the sliced beef strips in a single layer on a clean, dry surface. If desired, you can place plastic wrap over them to protect against any potential contamination.
Step 8: Marinate or Season
- At this point, you can marinate or season the beef strips according to your preferred jerky recipe. Allow the meat to marinate for the recommended time.
Step 9: Dehydrate or Oven Dry
- Once your beef strips are well-seasoned, proceed with the drying process. This can be done in a food dehydrator or in the oven at a low temperature, following the instructions of your chosen jerky recipe.
Step 10: Enjoy!
- Once the beef strips are fully dried, you can store them in an airtight container or enjoy your homemade beef jerky. It’s a delicious and protein-packed snack ready for your enjoyment!